Monday, August 12, 2013

Peaches and Plums


My friend Beth and I decided to can peaches and plums together this year.  Beth has a  shiro plum tree in her back yard that was producing a whole lot of beautiful yellow plums.  For our peaches, we went to a farm that was selling Dixie Gems for 80 cents a pound, which is at least 20 percent lower than other farms in our area.  (The other farms were selling for $1 to $1.50 per pound for u-pick.)  We each picked about 66 pounds, and it only took us about 45 minutes to an hour to get the job done.  


The cashier only charged us for 62 pounds each, so the total cost was only $49.60.  Since we each canned 24 quarts and still each had 2 one-gallon freezer bags left over, the cost per quart was around $1.85.  Here are are some photos of the process:


First we washed and blanched the peaches for about a minute in boiling water, and then plunged them into an ice bath to stop them from cooking.  This allowed the skins to practically (and sometimes literally) fall right off.  


(This is a picture of Beth peeling and myself doing the blanching and ice bath.  We were at Beth's house for this event, where she had a great idea to cover her kitchen island with a blanket to catch spills.  She was then able to throw the blanket right into the washing machine.  Also, aprons are a must when canning, pickling, and jamming- they are so easy to clean and use as make-shift towels and hot pads.)

We then sliced them and soaked the slices in a mixture of lemon juice and water to keep them from turning brown during the canning.  The ratio was about 1/8 cup lemon juice to 4 cups of water. 

From the lemon juice, we filled our clean jars as full as we could with sliced peaches, and poured a light syrup over them.  The syrup was 2 cups of sugar and 6 cups of water, which we brought to a rolling boil.  After we got the liquid to 1/2 inch from the top and got the air bubbles out, we wiped the rims and covered them with our new, boiled lids and rings and put the jars into the water bath for 30 minutes.


We ended up using a BBQ for the water bath.  The canning pot was too big for the kitchen stove with everything else we had going, and it was not boiling very quickly.  Sometimes, you have to make it work with what you have, and I am thankful that Beth’s husband suggested we use their BBQ.  It worked very well.  


It took us about 9 hours to get all 48 quarts processed and to get the remaining peaches peeled and ready for jam and for freezing.  We didn’t get to the plums until the next day.


For the plums, we were able to peel them very easily as we picked them right off the tree, so we did not need to blanch them.  We also skipped the lemon juice step and just filled our pint jars with as many sliced plums as we could fit.  We used the same syrup recipe as we did with the peaches, and we put them into a water bath for 20 minutes.  We each canned a dozen pints of plums, which didn’t cost us any money...just a few hours of our time.  Beth and I were each able to make several pints of jam from our leftover peaches and plums as well. 

I am so thankful for friends who offer to share their homegrown produce with my husband and me.  We don’t have a lot of room to grow, but we so enjoy food from a garden.  If you know someone who has an abundance of food in their garden or orchard, maybe offer to trade goods or services for some.  If they invite you to come pick, you could even clean up the rotten fruit on their ground as a way of thanking them for their generosity.  Or if you have an abundance of produce, you can offer it to your friends that you know would enjoy it (like Beth and her husband did with their plums), or donate it to your local food panty.  Don’t let your hard earned food go to waste.  Some local non-profit gleaning organizations will even come out to your house and pick it for you.  There is always someone who will be grateful for it, and it is nice to know your helping a good cause. 


How are you doing with your canning?  Have you come across any great tricks or recipes?  Thank you for reading about this mindful home.


Thursday, August 1, 2013

The Ten Item Challenge


How often do you walk into your kitchen, open the refrigerator and all the cupboards, and then complain about how you have nothing to eat.  Be honest.  I am totally guilty of this, especially when I am on a between-meal snacking craze.  Chances are, there is probably an abundance of food in the kitchen, and I just don’t have time or patience to make something...or I want junk food, which we don’t buy.  Does this happen to you and your family?  

My husband recently read an article about a father in a family of four who complained about having no food.  When he stopped to think about it, he realized that not only did he have plenty of food in the cabinets and was just too lazy to make something, but he was also setting a bad example for his two kids about always wanting more, even when you have plenty.  He decided to eat what they had in their kitchen, without any grocery shopping, until they really ran out of food.  His family was excited about the challenge, and they ended up eating from their pantry and fridge for three and a half months.  Three and a half months for four people!

This story inspired me to do this ten item challenge.  I really believe we could eat for quite a while on what we have in our kitchen right now, especially since we buy in bulk.  We have items in our pantry and freezer that I’m ready to use up- I am tired of looking at them to be honest.  So I decided to only buy ten items this month, and meal plan from those items and what we already have on hand.  I decided to buy ten items (instead of none at all like the man from the article) because as a vegan, I need fresh produce in my meals, and we have used almost all of ours from the month of July.  So what I am buying is mostly produce.  Here is my shopping list for August:


  1. Lettuce
  2. Peppers
  3. Onions
  4. Tomatoes
  5. Carrots
  6. Potatoes
  7. Vegan sausages (we are out)
  8. Sugar (we are out)
  9. Burger buns (I would usually make my own or just use   homemade bread, but I found the thin buns at Costco for a great price, and I can freeze them for easy, on-the-go lunches and dinners if needed.)
  10. One item of choice (we decided to choose any single item that we both wanted, and ended up with shelled pistachios)


My day of shopping for the month was cheap and quick.  Based on what I bought and the prices that I have researched, I only needed to go to two stores, and they were right next to each other.  Our total cost for the month was $77.39.  It could have been less, but the pistachios were a splurge at $14.49 and the vegan sausages run $13.99 (I think I need to research how to make my own).  I have a list of items to make from scratch to supplement what we are buying, including whole wheat crackers, bread, black bean burgers, salad dressing, raspberry muffins, applesauce, and soy yogurt.

My intention in eating what we have in our kitchen is not to use up all of our bulk items, but rather to use up some odds and ends that I have had on hand for a while.  I really dislike throwing food away, so this will help us go through things before they get close to expiring.  Plus, it is always a good feeling to clear out items in your pantry. 

I have one exception to my once-a-month and ten item rules in August.  I am giving myself permission to spend money on u-pick produce.  I would like to pick corn, peaches, and more blueberries for canning and freezing, and August is the month to do it.  So there is a good chance these items will appear in some of our meals this month, but I figure that by picking and processing it all, I will earn the exception.   

I hope everyone is doing well with meal planning, preserving, and/or whatever else you’re doing to help your families eat healthy and save money on food.  A ten item challenge (or less) may be just what you need if you’re having a rough month financially, if you need to eat through some items in your pantry/fridge, or if you just enjoy the challenge.  Best of luck, and thank you for reading about this mindful home.  

Tuesday, July 30, 2013

Canning and Pickling


I have had the opportunity this week to can plums and pickles as a start to the canning season.  I love putting up produce to last through fall and winter, and I am fortunate to have an experienced mother and grandmother who are happy to pass along the tradition of canning.  We have only used the water bath canning method so far, although we will probably be pressure canning green beans when the time comes.  Putting up your own produce is very cost effective, and it can be as simple or complicated as you’d like to make it.  

My only advice is to stock up on mason jars and unused lids as you find them on sale or at goodwill and garage sales.  If canning and preserving is something you plan on doing a lot of, you will be surprised at how quickly you run out of jars.  You will need new, unused lids for everything you can to be shelf stable, although clean rings are fine to reuse as long as they’re not rusty.

This past Saturday, some friends invited us to pick plums from a tree in their backyard.  Since I have a dozen jars of plum jam from last summer, I decided to can these plums in halves in a simple syrup instead.  I started by washing them and cutting them in half to remove the pits.  I stuffed pint jars as full as I could, and ended up with a dozen jars.  While I was cutting and filling jars, I made a simple syrup on the stove by brining a combination of one part sugar to two parts water to a rolling boil.  I then poured the hot syrup into the full jars until the liquid was one half inch from the top.  I then put the boiled lids and rings on the jars tightly, and submerged the pints into a boiling water bath for twenty minutes.  Once they were done, I let the jars cool and waited to hear the pops of the lids sealing.  Luckily, all of my jars sealed, so they should be shelf stable throughout the year.  


Monday, I joined my grandma, mom, and our friend Gaye for a day of pickling.  We decided to make Kosher dill pickles.  The recipe was easy, but canning 75 pounds of pickling cucumbers was an all day affair.  Here was our process:

First we sorted each bag of cucumbers into “pint size” and “quart size” groups.  The larger cucumbers were too tall to fit in pints, so they were canned in quart-sized mason jars.  


Next, we washed the cucumbers and cut and cleaned the fresh dill.  


Then we filled the jars- first we put in peppercorns, garlic cloves, and dill, and then stuffed each jar as full as we could get it with the halved cucumbers.


While we stuffed jars, we prepared the brine on the stove until it was boiling.  The brine was a mix of canning/pickling salt, distilled white vinegar, and water.  


When the brine was ready, we filled each jar to 1/2 inch from the top and put on our boiled lids and rims.  The jars were then submerged into a water bath, where they boiled for 10 minutes for pints and 15 minutes for quarts.  


Once they were removed from the water bath, they were left to sit and cool under towels as we waited for the lids to pop and seal.  The reason we covered the processed jars with towels was because we were canning in my grandma’s garage and we didn’t want any cool breezes to blow through and ruin our seals or break our jars since they’re so sensitive to temperature changes. 


My Grandma turns 92 years old this September.  She has spent many days in that garage canning all sorts of fresh produce for her family, which she was always eager to share.  She helped us cut cucumbers for a while in the morning, and made a guess at how many jars we would end up with at the end of the day.  She wrote her guess of 102 on the wall (which I believe should be a new family tradition), and after eight hours of canning, wouldn’t you know it that she was only off by two jars.  We canned an even 100 jars that day.  Four of these jars were canned garlic cloves, since we had so much left over from the pickles.  If you’ve never had canned or pickled garlic cloves and you like garlic at all, I would encourage you to try it- they are wonderful. 


The cost breakdown: we spent $105 on all of the ingredients that we needed (we had salt, peppercorns, jars, and lids already.  $105 divided by 100 jars equals $1.05 per jar, and about a third of the batch was quart jars, which are twice as large.  If you price them by the pint, that equals approximately 82 cents per pint.  I’d say that was a pretty good return on our money, since store bought pickles are three to four times as much, and many of them have dyes and preservatives in them.  Plus, homemade pickles are way better.


At the end of the day, we enjoyed dinner and a martini on the back deck, as Mom, Gaye, and my aunt Pam told old stories, and we laughed.  It was the perfect end to a day of canning, even if we did smell like garlic and dill.  Happy canning and pickling to you, and thank you for reading.  


Friday, July 26, 2013

Garden Recipes


‘Tis the season for gardeners and u-pickers everywhere to start taking advantage of all the bounty that summer growing has to offer.  I have felt very fortunate lately to be the recipient of fresh, ripe produce from the gardens of friends, new and old.  Recently, my sister and I visited to our dad in Washington.  While we were there, we were invited to pick all sorts of homegrown goodies from the beautiful garden of a Senator and her husband.  What a garden (and what amazing antiques...but that is a whole other story) that property had.  We picked raspberries, basil, onions, garlic, zucchini, summer squash, and cucumbers.  


We split the produce between three families, and the zucchini was the only thing we had an abundance of.  Those, in combination with several more zucchini and squash given to my husband and I from friends who were going out of town, and I had to come up with some recipes that would allow me to preserve this wonderful overflow.  Did someone say vegan chocolate chip zucchini muffins?  Here is the recipe, which I modified a bit (see notes) from the Get Natured, Get Nurtured blog (www.getnutured.com):   

Chocolate Chip Zucchini Bread (vegan)

  • 2 cups whole wheat flour (whole wheat pastry flour works well)
  • 1 teaspoon baking powder
  • 1 teaspoon cinnamon
  • 1 teaspoon ground cardamom
  • 1/2 teaspoon freshly ground nutmeg
  • 1/4 teaspoon sea salt
  • 2/3 cup non-dairy milk
  • 2/3 cup real maple syrup (this is a pretty sweet bread and this could be reduced to 1/3 cup)
  • 1/4 cup oil (canola, coconut, olive - your choice)
  • 2 teaspoons lemon juice
  • 1 1/2 teaspoons vanilla
  • 1 1/4 cups grated zucchini
  • 1/4 cup raisins
  • 1/4 cup chocolate chips
  • 1/3 cup finely chopped walnuts
  • 1/4 cup hemp seeds (optional, adds protein, iron, and omega 3s)
  1. Preheat the oven to 375º F (190º C). In a large bowl, combine the flour, baking powder, spices, and salt. Set aside.
  1. In a small bowl, combine the milk, syrup, oil, lemon juice, and vanilla. Add to the dry mixture and stir gently to combine. Fold in the raisins, walnuts, and hemp seeds.
  1. Pour batter into a loaf pan* lined with parchment paper (or lightly oiled). Bake for 45-50 minutes, until lightly browned and a knife inserted in the center comes out clean.

Notes:  I poured the batter into large muffin tins and baked for 25 minutes.  I left out the cardamom, nutmeg, raisins, walnuts, and hemp seeds.  Instead, I doubled the vegan chocolate chips.  I also doubled the recipe, which gave me two dozen muffins, most of which I plan on freezing.  Also, I used 1/3 cup maple syrup instead of 2/3, and it was plenty sweet since I doubled the chocolate chips.  You could also use agave instead of maple syrup.


Next, I plan on trying some vegan zucchini fritter recipes and maybe a recipe for salt and pepper zucchini chips.  More to come on the outcome of these.  I really try not to throw away perfectly good produce, even if it means a few hours of cooking, baking, and/or preserving.  After all, how often do we Oregonians get to enjoy fresh produce from warm weather crops?

Another fun recipe that I tried this week was ketchup.  I used an onion and three cloves of garlic from the Senator’s garden, as well as a jar of stewed tomatoes that I picked and canned last summer from the garden of some friends.  The ketchup was then poured over roasted cauliflower, and it turned out great.  I got the recipe from the Nourish Me blog (nourish-me.typepad.com):

Roasted cauliflower, Manchurian-style – feeds 2-4, depending on greed

1 good cauliflower
Olive oil
Sea salt and pepper
1 onion, finely chopped
1 x 400g (15 oz) tin of chopped tomatoes
Glug of red wine vinegar
Glug of balsamic vinegar
2 or 3 teaspoons of sugar
3 fat cloves of garlic, finely chopped
Good pinch  of chili powder

Preheat the oven to 200 C (400 F). Core, trim and break the cauliflower into florets of even-ish size. Arrange in a single layer in a baking dish. Toss with 2 tablespoons of oil, 1 teaspoon of salt and loads of pepper and roast, turning twice, for 30 minutes.

For the Ketchup, fry the onion in a little oil until soft. Add the tomatoes, juice and all, followed by a glug of each vinegar, the sugar and some salt. Bring to a boil, then simmer for 10-15 minutes, until reduced to about a cup. Puree if you like, but I wouldn't bother.

Five minutes before the cauliflower is ready, heat a splash of oil in a large frying pan over a medium heat. Add the garlic, and cook for a minute or two - don't let it burn. Pour in the tomato ketchup and cook, stirring often, for a few minutes. Add the chili powder to taste and, when ready, tip the cauliflower florets into the pan. Toss over and over, making sure they are well coated in the sauce. Eat hot.  


The ketchup was wonderful, and so easy.  I’m purely guessing here, but I bet the ketchup would stay good in the refrigerator for a week or so, or I’m sure you could can it.  I assure you, it is worth the extra effort to make ketchup from scratch, especially if you can get the produce fresh from the garden or farmer’s market. 

I was able to go blueberry picking this week with a friend and her two adorable kids.  She found a farm nearby that only charges $1.25/pound, and kids eat free (haha, but really, the sign says you can eat as you go).  Last year my husband and I picked about ten pounds of blueberries to freeze and use the whole year, and that was the plan this year.  But I only picked about six pounds, and we ate a bunch and gave some away.  That means I get to go picking again, and I will probably pick some raspberries while I am there, since they are also only $1.25/pound.  Since we make a lot of smoothies, freezing the berries works great for our needs.  But you could use them to make jams, jellies, pies/crumbles/cobblers, or whatever your heart desires.  You can’t beat the price (and flavor) of u-pick, and going with friends is so much fun.


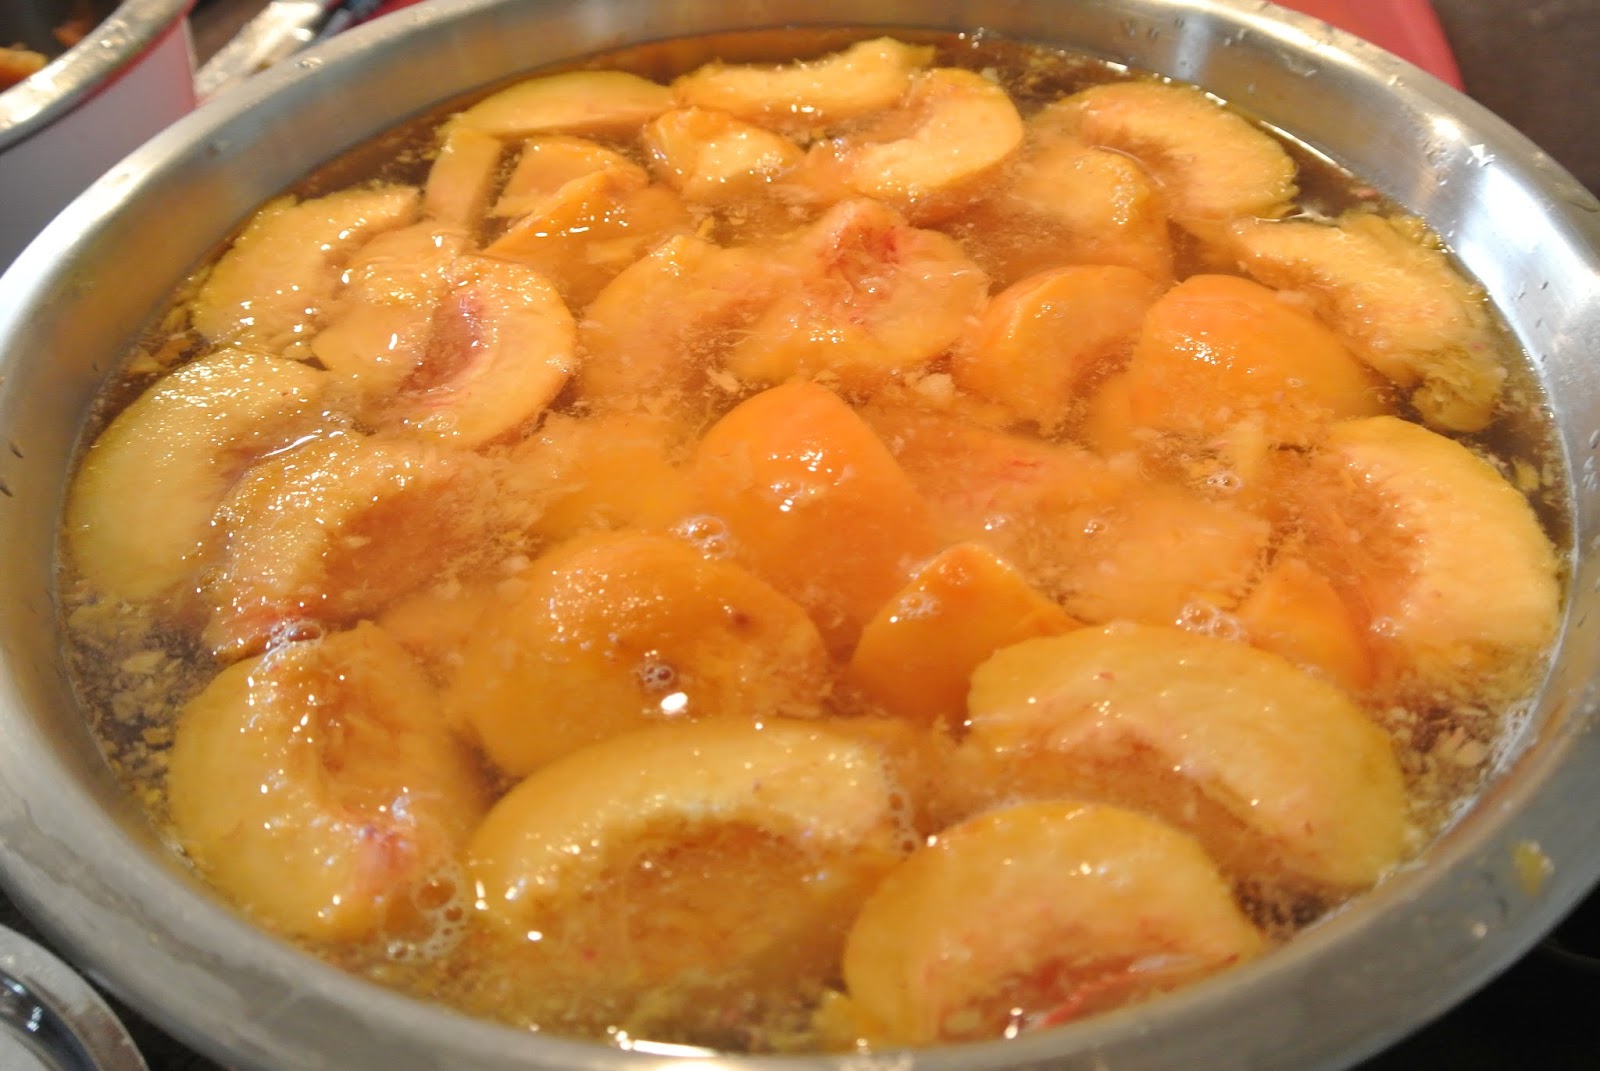
On my way home from blueberry picking, I stopped at one of my favorite farms to see about pickling cucumbers.  My mom, sister, aunt, and grandma have canned fabulous dill pickles the past two years, so I was on the lookout for small, firm, green pickling cucumbers for a good price.  And they had a great selection.  I bought a pound while I was there to test them in a basic quick pickle recipe.  Here are some photos of the process:


They turned out good and very crunchy, so I called the farm and reserved three 25lbs bags for pick-up next week.  They were only $27 for 25lbs, which is a great price, especially considering the quality.  I bet you did the math there...don’t worry.  One bag is for my mom and one is for my sister.  I will only be canning 25lbs for our household, which equals about 25 pints.  And at the rate my husband and I can eat pickles, I’d say we are being overly safe...stingy even.  But at about $1.25 a pint after we calculate in dill, garlic, peppercorns, salt, and vinegar, it’s still an unbeatable price for one of our favorite snacks, with no preservatives or dyes like what you usually find at the grocery store.  I will be sure to post pictures of the canning process next week.
Also coming up from the Beyond the Kitchen Series is home cleaning products.  I’m very excited about these recipes because they are easy, cheap, all natural, and they leave your home smelling great.  
What are you planning on canning and/or picking this season?  How are your gardens coming along?  I know many of you out there are doing what you can with what you’ve got (containers, limited space, not-so-green thumbs), and I say more power to you.  What an accomplishment to feed your family from your garden.  I hope you are enjoying the beautiful summer weather, and thank you for reading. 

Wednesday, July 10, 2013

Coconut Oil in all its Glory: Toothpaste, Deodorant, Sunscreen, Lotion, Body Scrub, and More


Coconut oil is an edible oil extracted from mature coconuts.  It can be used in cooking to replace alternative oils, and is especially useful for people following raw vegan diets because of its low melting temperature.  However, I choose to use it as a body product.  Pure virgin organic coconut oil is my moisturizer of choice; I keep a small jar of it in my bathroom and put it on my legs and arms after I get out of the shower.  Be careful of overuse though as it takes a while to absorb and can get oil on clothes.  (If you get an oil stain on clothes, try rubbing chalk on the stain and leaving it for several minutes before rinsing.  Repeat until the stain is gone.)  Here are some of the amazing reasons that I love coconut oil:

-It is all natural- no artificial chemicals, additives, fragrances, or dyes that absorb into our bodies. 

-It is a natural antibacterial, antimicrobial, and anti-fungal- this natural ingredient packs a serious punch in cleaning and medicinal uses.  Many people swear by its ability to fight acne, lighten age spots, and help heal cuts and scrapes.  It can also be used to fight athlete’s foot, soothe psoriasis or eczema, treat yeast infections and UTIs, help diaper rash, cure cradle cap, and when mixed with apple cider vinegar, can be used as a natural treatment for lice.  Use it to treat a sunburn and poison ivy, reduce the itch from bug bites and chicken pox, and reduce the appearance of varicose veins.  Putting a small amount inside your nostrils can even help alleviate allergy symptoms.  Use it also for homemade vapor rub and diaper cream, to heal cold sores, to prevent stretch marks during pregnancy, and for several other first aid and health remedies- just do your research.

-When ingested on a regular basis (don’t overdo it- it is still high in saturated fat, even though it is a healthy kind of fat) it is said to help boost brain function and alertness, which can help with Alzheimer's.  Melt it into tea to help recover faster from a cold or flu.  It provides natural energy and improves metabolism, supports healthy thyroid function, helps improve insulin levels, helps improve cholesterol ratios, and its anti-inflammatory properties can help lessen arthritis.  I can help heartburn, nausea, digestion, hormone production, and circulation. Some studies even show that it helps with weight loss, depression, and anxiety. 

-It is sustainably sourced.

You can buy organic virgin coconut oil in bulk at Costco for less than $20 and it will last you a very long time.


Here are some of the recipes that I use coconut oil for:


Toothpaste

1/2 cup of coconut oil 
1/4 cup baking soda 
10 drops of peppermint extract

Mix ingredients and store in a resealable jar in a cool location


Deodorant

1/4 cup coconut oil
1/4 cup baking soda
1/4 cup corn starch
10 drops essential oil (choose from lavender, tea tree, lemon, etc)

Mix all ingredients and store in a resealable jar in a cool location.  Important note: this is not a good option for women (unless they do not shave their armpits). The first time I used this right out of the shower, it stung like crazy because I shave and underarm skin is sensitive.  This is a great recipe for men, but I use a store bought deodorant for myself.  But be your own judge.


Eye Make-up Remover
Melt a dab of coconut oil on your finger tips and gently rub over your lids and lashes.  Wipe away with a reusable, soft cloth that you do not mind getting dirty.


Conditioner (also mentioned in my Conditioner and Shaving Cream post) 

Slather a palmful of coconut oil on the ends of clean hair (avoid the roots so your hair doesn’t look oily after the treatment) and let sit for at least 10 minutes.  Rinse well.  This can make your hair look oily for a couple washes, so be prepared to repeat your shampoo or wear your hair up for a day.  


Lotion Bars

1 cup coconut oil
1 cup Shea butter, cocoa butter, or mango butter
1 cup beeswax
1 tsp vitamin E oil (optional)
25 (or more to desired fragrance) drops essential oil, whichever you prefer

Melt together all ingredients except essential oil and vitamin E oil until liquified.  You can use a double boiler, a glass pyrex in the microwave, or even a mason jar in a pan of simmering water to melt them.  Stir ingredients constantly until they are smooth.  Remove from the heat and add vitamin E oil and essential oils.  Stir until incorporated.  Pour into your molds of choice (muffin tin, silicon baking cups, soap milds, etc.) and allow to cool completely before popping out of the molds.  


Sunscreen

1/2 cup almond or olive oil
1/4 cup coconut oil
1/4 cup beeswax
2 tbsp zinc oxide powder (I order this online)
10 drops essential oil of choice (use something that will not irritate your skin since this will most likely go on your face)

Note: wheat germ oil has a natural SPF of 20, carrot seed oil has a natural SPF of 30, and raspberry seed oil has a natural SPF of 30-50.  Feel free to add a tablespoon of these if you can find them and don’t mind spending the extra money.  You may want to add another tablespoon of beeswax if your mixture is too liquified from the additional oil.

Melt the oils (except essential oil) and beeswax together, stirring constantly to incorporate.  You can use a double boiler, a glass pyrex in the microwave, or even a mason jar in a pan of simmering water to melt them.  Once the ingredients are melted, add the zinc oxide powder, and stir to incorporate.  Remove from heat and add essential oil of choice.  Allow the mixture to cool, stirring a few times to make sure the ingredients stay well blended.  Store in a resealable jar in a cool location.  This recipe has an SPF of 20, but the more zinc oxide powder you add, the higher the SPF.  Just note that too much will leave a white paste on your skin.  Reapply after sweating and swimming, to be safe.  


Sugar Body Scrub

1 part coconut oil
1 part sugar

Mix well and store in a resealable jar in your shower.

I hope you are inspired to go out and get yourself some coconut oil.  I love that this one oil found in nature is capable of so much.  What are some of your coconut oil recipes or uses?  Thank you for reading about this mindful home.

Tuesday, July 9, 2013

Antiques


It is no secret that it has been my dream for years to sell antiques.  With all of the media to choose from today, I have decided to start selling online, and I couldn’t be more excited.  I am currently selling on Instagram, and you can follow me at ThisMindfulHomeAntiques.  I will be expanding to other forums as soon as possible.  I hope to sell quality items which are both unique and useful, that customers can truly enjoy.  Thanks for checking it out.  


Corn in the Country and July's Groceries


My husband and I just got back from a great visit with his family in Florida.  We had a lot of fun seeing family, floating in the pool, and going to Charleston, South Carolina.  


Boone Hall Plantation in Charleston

While we were visiting, a friend of the family called to invite them to come to their plantation and pick fresh corn on the cob.  This led to an impromptu family corn preserving operation that was a ton of fun.  Here are some photos:

A pile of corn in the bed of the truck


 Shucking and cleaning


 Blanching


 Cooling


 Using the Foodsaver to bag the corn

The finished product in the freezer


I loved this evening of our trip because it reminded me of how things probably used to go on old homesteads: a neighbor calls to share their homegrown produce (or trade or however it used to work), and a family puts it up all together to enjoy all year long.  Ok, they probably didn’t use freezers to put things up, but still...you get the idea.  And with corn on the cob almost in season back in Oregon, this shows how easy and worth while it is to put up your own corn when you find the right deal.  It is so much better and healthier like this than from a can.  What are you planning on canning this summer?

On the home front, I did our menu plan and grocery shopping a little later this month because of the trip.  I am very excited about this month’s menu plan for a couple reasons.  First, I have included a lot of fresh, grilled produce in the meals.  Isn’t summer wonderful for that?  Second, my mom gave me a dry blade attachment for my Vitamix blender so that I can make freshly ground wheat and rye flour for my homemade bread.  I love that I can now make unprocessed flour.  I have a dream of living off my own homestead someday and growing all of our family’s wheat for flour.  I know it sounds crazy, but the heart wants what it wants, eh?  This attachment also comes in perfect time because our coffee grinder just quit on us and the dry blade will also grind coffee.  If you don’t have a Vitamix and are thinking of getting one, I highly suggest it.  They will change the way you cook and eat.


Here is the photo of this month’s groceries (except for a Costco box of organic rice milk), which cost a total of $163.37.  I was shocked that this was all I spent this month because the menu plan suggested it would be somewhat expensive.  But then again, we keep a lot in bulk so that we don’t have to buy it every month, which saved us a lot.  

What are some of your favorite summer meals?  I would love some new ideas for next month.  My next post from the Beyond the Kitchen series will be all about coconut oil, so stay tuned- its a wonderful and versatile natural product.  Thanks for reading.